|
by Susan McCarthy When you declutter and organize your craft supplies, you should get a better sense of what materials you have to work with and then organize them in a way that helps you to both retrieve and return them. You want to spend your time creating - not looking for the materials you need to do a project. 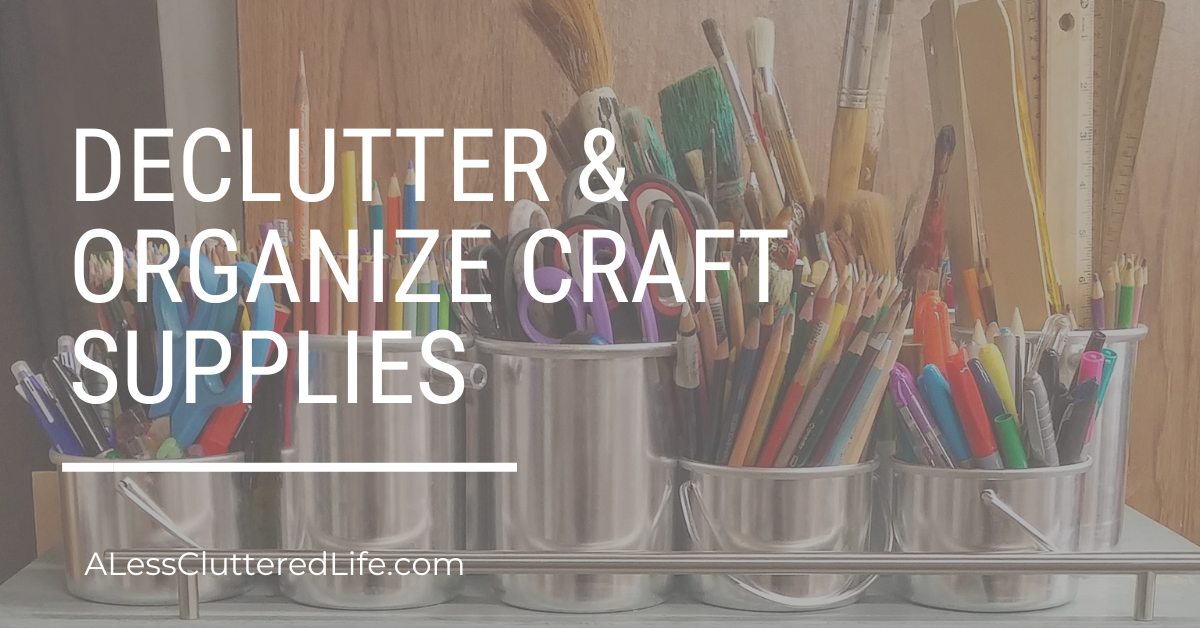 When I taught art classes, one of my favorite things to do (after researching new projects), was to organize the art and craft supplies. I loved grouping stuff together and creating activity bins that I could grab and be set for the day. My organizing habit would even entice some of my students into color coordinating markers, embroidery floss, paper, and other supplies. I wasn’t being fussy or neat. My goal was to make it easy to retrieve and return supplies. And while the variety of materials I use at home is far less than what I used to teach with, I still value practicality and functionality over setups that look pretty but actually make it more difficult to access materials. Tips for decluttering craft suppliesBefore you touch a single paintbrush or skein of yarn, you want to get clear on why you are organizing your craft supplies. Identifying what isn’t working for you means that you’ll go into the decluttering and organizing process with an eye toward developing solutions. Pretty is great, but I suggest you aim for practicality and functionality of your supplies. I want the attention on what I create, not that I’ve taken the time to color coordinate my cardstock (although there is something satisfying about grouping things by color). When you focus on function, you’ll know just what tips you need and which you can ignore.
Also, be honest about what crafts you actually give time to. If you work in a medium once a year, then these items can probably live in a bin in a less accessible location as opposed to keeping it out in the open. And if you haven’t used supplies for a while, be honest with yourself as to whether you will return to this craft. Most craft supplies degrade or dry out over time and so holding onto these things for “later” can have few benefits. Instead, consider if there is someone you can give or sell the materials to while they are in good condition.  How to organize a lot of craft suppliesDepending upon your current level of order, you might want to consider decluttering and organizing by craft as opposed to sorting through all your supplies at the same time. For example, I make handmade cards and I crochet. I’m not going to gather the supplies for these two distinctly different crafts together in the same place. Instead, I’ll work through fiber supplies and paper supplies at separate times. If decluttering projects tend to lead to overwhelm (so many small things!), keep your focus on a small group of items or a Little Space to avoid ending up with craft supplies sprawled everywhere. First, sort and see what you have.Don’t look at Pinterest boards just yet for “16 Awesome Ways to Organize Your Arts and Crafts.” First, you need to sort your supplies and see what you have. Gather everything in one place. Do you have materials in several different rooms? Bring it all to one place. Touch everything. Just looking at stuff on a shelf or in a drawer or bin doesn’t give you the same sense of what you have. Group similar items together. Ideally, remove things from where they’ve been stored to give you a fresher view of what you have. Consider how you use items when determining how to sort things into groups. If you go looking for colored tissue paper, then you don’t want to shuffle through glitter paper and cardstock. One crafter may keep those different types of paper in one bin so they can rely on inspiration while another crafter doesn’t want the time-wasting distraction of rooting through materials, they have no interest in at the moment. If you have an excessive amount of something, ask why. Did you buy items on clearance? Were the items stored in so many locations that you had no idea you had these quantities? Did someone give you this stuff? Can you make plans to use this excess, or will you share it with others? Inventory the supplies. You don’t have to create a written inventory unless you have a specific reason for needing one. However, you want a sense of what seems to be enough stock, what appears to be way too much, what appears to be useless, and what you wish you remembered to use. Second, weed out what’s useless to youYou can combine the tasks of sorting similar items together with weeding out what you won’t use. Toss (in the trash or recycling) stuff that is obviously trash. This could be things that are dried out, faded, mildewed, destroyed by rodents, insects, or water; or in general poor condition. Are there supplies that you could donate to school, camp, library, or university art department? Another consideration at this stage is how much of something you want to own. This can depend upon how much space you can give to your crafting supplies. You might have a 27-gallon storage tub filled with all the yarn you own…or you might have one for blue yarns, another for reds, and so on. To prevent sprawl and clutter, consider that once a space dedicated to a supply is filled, that’s all you keep. You either make plans to use or give away the excess stuff. If you haven’t used something for three or more years, would you miss these materials if you didn’t have them? Third, decide where you’ll store stuffIf you have a dedicated craft room, then your focus is on where in the room you’ll keep things. If you don’t have a craft room, where will you store things…and is this near where you work on your craft? For example, I store my yarn and most supplies related to crochet in my bedroom closet even though I crochet in the living room while watching television. On the other hand, my paper crafting supplies are near my computer, which I need to operate my Cricut die cutting machine. In this case, everything is within arm’s reach. If you keep things in storage bins, how much shuffling through stacks of bins will occur to get to the supplies you want. When I was an art teacher, I was constantly manipulating stacks of storage bins in the small supply closet. It didn’t bother me at work, but when I had a similar set up at home, I found it annoying to have to put in so much effort to reach the bin labeled “watercolor supplies.” The more often you use something, the easier it should be to access it where you’re going to need it. Fourth, put supplies in well-labeled containerChances are that unless you are new to a craft, you already have some sort of container to keep your supplies. (And that container could be a bin, rolling cart, tote bag, caddy, cubby, shelving unit, plastic drawers, and any other storage system.) If a storage tool works for you, then there’s no need to change it. If something doesn’t work for you, get specific about where your current system is failing you. Then go looking for something that will solve that problem. My thought is that effective organizing supplies should make it easier to both retrieve and return the items you want when you want them. For craft supplies, I’d add that you want lots of visual cues without the visual clutter. Label everything. Be as specific as you need to be so you can find things. And label all sides if you aren't going to look for the label before putting a bin on the shelf. Use clear containers if you want to see the supplies. Use colorful, opaque containers if the color cues you as to what is inside. If you’re concerned that out of sight means out of mind, use clear containers as opposed to opaque ones. However, you might prefer all your card-making supplies in yellow bins and your painting supplies in teal bins because you see the color first and then narrow in on the label. Avoid lids if they get in your way. Lids can be a deterrent to quick access – for both retrieving and returning items. I've left stuff on the bin's lid because I was feeling too lazy to open the cover; and I've seen others do the same. If the lids are a hassle, can you slide them under the bin so it will be easier to reach in? Store small storage containers one deep on shelves. Avoid storing one container behind another container. Whatever ends up in the back will be “lost.” If it’s more of the same stuff that’s in the front bin, it might not be a problem. However, if you have a jar of buttons stored behind a jar of zippers, you might lose track of where the buttons are stored. Just because a shelf is deep you don’t have to fit stuff in front-to-back. Single facings of items might seem a waste of space, but it can save things from being hidden. Avoid blocking shelves, cabinets, or drawers by storing things in front of them. How to organize craft supplies in a small space … or a large oneWhether a space is large or small, if it looks uncluttered, it will be a more welcoming space and you (and others) will treat it more respectfully. If things are strewn about, it’s easy to get into the mindset of simply setting stuff down “for a minute” as opposed to putting it away properly. Keeping an area organized isn’t meant as a deterrent to creativity. Even an artist who has shelves of thrift store finds in their workspace, will find it more inspiring to have similar items together so they can see their available options. When storing things, consider how often you will use specific items to determine where you want to store them. The supplies you need now – If you use something while working on a craft project, it should be within arm’s reach. For most crochet projects, I need little more than the hook, yarn for this part of the project, and a pair of scissors within reach. If you don’t have a dedicated craft room, tote bags and rolling carts can bring the supplies to where you are crafting and then get put away with ease. The supplies you need soon – You may have items that you use frequently that you’ll set on a shelf or countertop (perhaps in a jar or open bin) or display on a pegboard. These could be things like colored pencils or glue sticks that are often used and when you need them, you might grab the smaller container they are kept in.
The supplies you need later (maybe much later) – These are the things you aren’t using now, nor do you use them frequently. Most tools and materials can probably be in closed storage – whether that’s a bin in a corner of the room or the top shelf in a closet. If you’re a quilter, you don’t need all your fabric at arm’s reach or even out in in the open. Everything but what you’re using can be packed away. If you make candles once a year, you don’t need these supplies sitting in the corner of your living room. These supplies can live in the basement or the back of a closet. If you must shuffle around a few things to reach what you want, that isn’t a big deal since you don’t use these items that often. However, if those supply boxes are buried under so much stuff that it takes you a half hour just to reach what you want, you might decide the hassle isn’t worth the project. If you give up the craft because of the hassle, then the box of supplies has become clutter. Don’t let clutter get in the way of creating things. In fact, your reason for decluttering and organizing your house may be to give yourself more opportunities to express your creativity. After decluttering a craft room, keep it tidyWhen you declutter, sort, and group similar supplies, you’re creating your definition of organized. You notice how often you use, say, washi tape, and either keep it on your worktable or you store it in a bin that sits on a shelf for when you need it. However, you may have some crafts that you do seasonally, and so, the bins of wreath-making supplies that sat in your basement for ten months are now filling a corner of your craft room or living room. You may be frustrated by this chaos, but you also notice that it’s temporary. Keep art and craft supplies organizedTo maintain order, you need to plan to tidy your area every time you make art. I’m sorry to say there is no magic solution to this. No matter how much time you spent deciding how to organize your supplies, you still need to clean up when you’re done. However, by sorting your stuff into well-labeled containers, you’re making it so much easier to clean up. Really. You don’t have to think about where stuff goes. You don’t need to worry about finding space to squeeze something onto a shelf. One. Keep the stuff you use all the time at arm’s length. You may have a mug filled with scissors or colored pencils or glue sticks or crochet hooks that you use all the time out in the open, on your workspace. Two. Keep the cover off storage bins while you work. Maybe it’s just me, but things like covers on craft supply containers annoy me. For example, there're a lot of craft blogs that show how pretty craft supplies look when stored in mason jars. However, if you must twist off a cover to put things away, you might decide to save yourself time now and tidy up later by leaving supplies wherever it is convenient. This creates disorganization. So, when you open a container, leave the cover off until clean up. Do the same thing with lids and covers to bins and boxes. Set the lid underneath the box if you’ll be returning supplies to the storage bin when you’re done. The open bin will remind you where you need to return items. Three. Avoid stacks of bins or supplies that require you to shuffle things around. If you have to move three bins to get to the one you want, you’re cluttering your area with stuff that’s out of place. Also, the temptation to not put things back where they belong becomes greater when you have a limited time to work on your projects. Four. Plan time to clean up. If you have kids or work with them, you know the importance of warning them that the time for one activity is coming to an end and the next will be starting soon. Kids aren’t the only ones who make a calmer transition to the next activity with forewarning. If you know you have until 9 p.m. to work on your quilting, fifteen minutes before nine, finish the task and start cleaning up. Unless you’re lucky enough to be able to leave things set up as they are so that you can return to them the next day, chances are you need to put things away, so your temporary craft space returns to being your home office space or your dining room table. Although this clean-up may be annoying, it also has its benefits – things can never get too disorganized because you are regularly tidying them. (Also, it’s somewhat worse to wake up in the morning and see the mess you left from the night before.) Organize Craft SuppliesIf you find that you’re having a difficult time keeping your craft area organized, ask, “What’s the problem?” You may then realize that you want your worktable closer to your supply shelves. Or you may notice that supplies you don’t use very often have been given prime real estate; while the items you use all the time aren’t as accessible. Sometimes, the answer may not be obvious, and you have to keep asking, “What’s the problem?” Is it as simple as, “I don’t leave myself time to clean up?” Or does the issue seem more complex? “I keep my cardstock in a pile and every time I take a piece, I mess up the pile so that the colors are no longer sorted, and I can’t see what I have, and the paper gets bent.” And you realize in this tangle of problems, you need something with trays that will allow you to sort the paper by color. Maintaining your art and craft storage will always involve some tweaking as you lose interest in some crafts while expanding your interest in others. Remember, the goal in organizing your craft supplies is so that you can spend more time crafting and less time looking for stuff. Other benefits include not spending money on things you already have and not forgetting about what you own – which could lead to supplies drying out, fading, taking on odors, or becoming otherwise unusable. Organized supply can make crafting more fun and creative! More Resources to Help You Keep Hobby Supplies Organized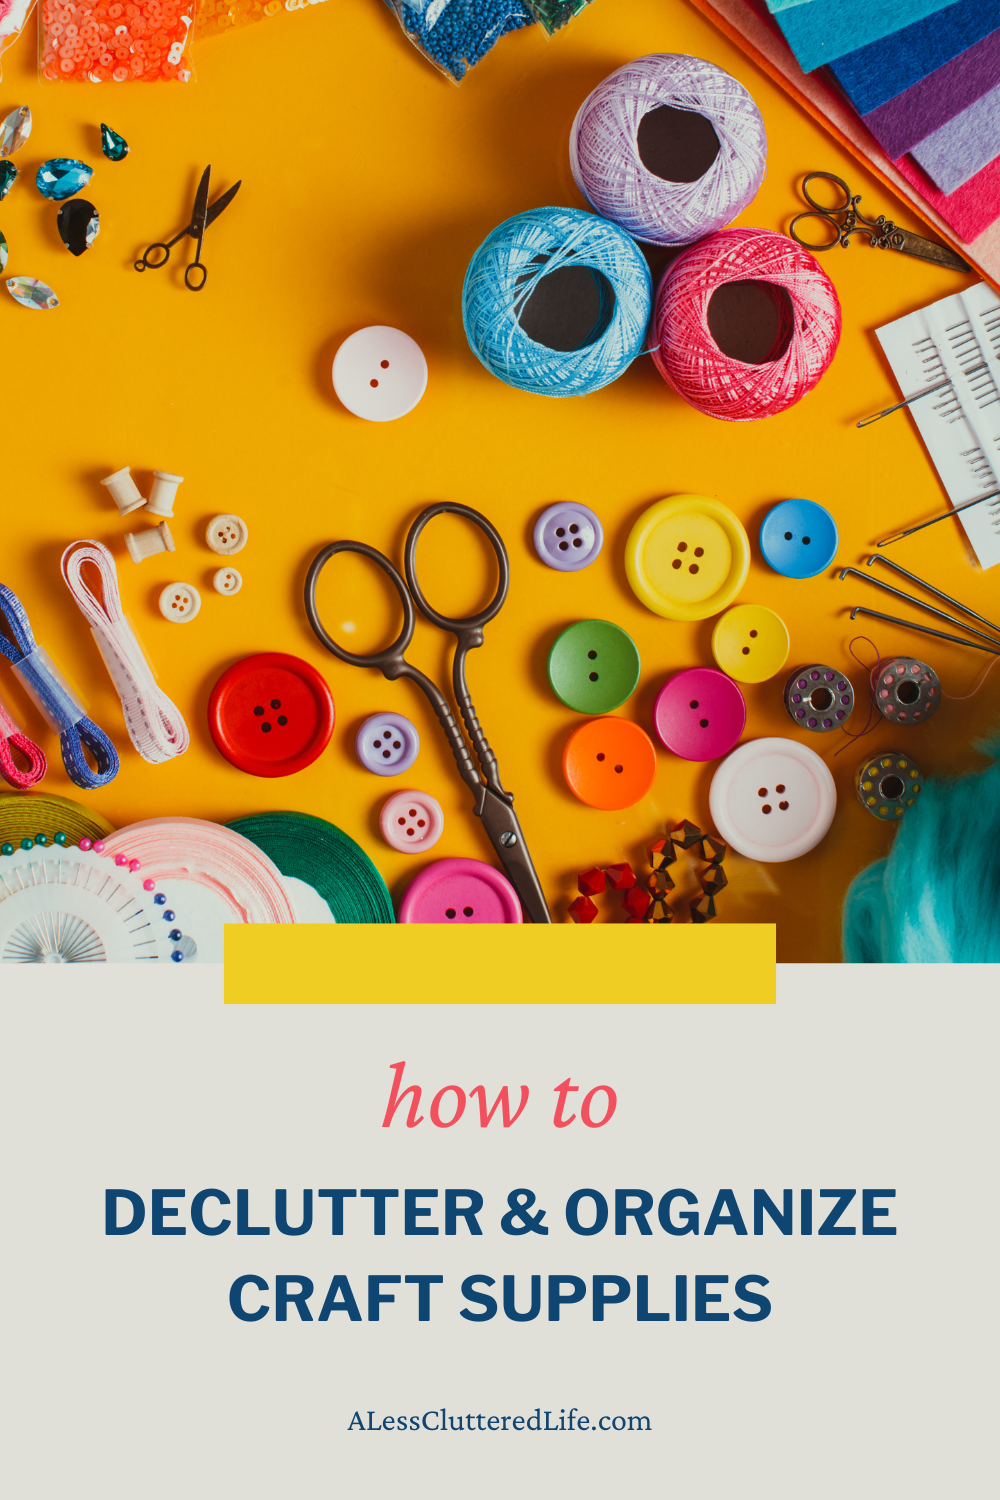
0 Comments
Your comment will be posted after it is approved.
Leave a Reply. |
Categories
All

Hi, I'm SusanI'm a former teacher who became a professional organizer (and not because I'm a natural-born neatnik). I live with my husband and fluffy cat on a river in Massachusetts. I crochet, make handmade cards, and love reading young adult novels. Learn more about my decluttering journey here. 
|
 RSS Feed
|
Copyright 2024 Susan McCarthy - Susan@ALessClutteredLife.com -
Privacy Policies
|
|
Proudly powered by Weebly